Showing posts with label crafts. Show all posts

Friday, November 18, 2011

scrap buster: no-slip corduroy coasters

Everything's cuter in corduroy, even coasters.


When I first moved in my apartment, I bought some cotton quilted coasters on Etsy that tied some of my decor colors together. However, these coasters find themselves on the floor more often than the tabletops because they slip around so easily. Solution? Non-slip rug pads.


I'm still mourning my red corduroy skirt that I botched a few weeks ago. I tried getting fancy with a self-designed waistband, then hastily cut into the back seam to take it in... whoops, way too tight. Can't part with the fabric, though, so now it's helping protect my living room furniture from beer bottle ring stains.

Cut two pieces of 4"x4" fabric per coaster.

Apply fusible interfacing to the wrong side of each piece.

Pin a 3"x3" piece of non-slip rug padding to the
 right side of one side of the coaster only.

Your sewing machine's presser foot will not want to 
slide over the rug pad, so do the minimal amount 
of sewing necessaryto secure it (I did corners).

With right sides together (the rug pad will be inside),
sew around the corners, leaving a gap to turn.

Clip corners and trim seams, but leave enough fabric
around the gap so that you can secure it by topstitching later.

Turn right side out, poking out corners. Press.
Topstitch close to the edge, all the way around, securing the gap.

You can only see the rug pad if you lean down and look for it.


Just TRY and scoot this thing across a wood table. This baby's going nowhere.


.....................................................................................................................................
Project linked to:

 and  and 

Friday, November 4, 2011

simple sewing: fabric-covered pencil cups

Here's an easy breezy sewing project: turn your lunch into pencil cups.


I've never done anything with tin cans besides toss them in my recycling bin, but I can now say they're pretty much a craftswoman's dream since they're so accessible and versatile. They have such a practical shape and size, and are still cool-looking just on their own without their labels.

I can't cook, so I eat a lot of canned soup. It's about time that I used all those cans to enhance my life in other ways. Why not pencil cups? I probably spend as much time per week looking for a frickin' pen in this apartment as I do eating soup, so I need them to be more accessible.

OK. Step 1: Remove the label, which comes off easily under hot water. At least for Amy's soups it does.


Step 2: Cut a 5.25" x 10" rectangle of fabric. I used leftover fabric from some other home projects, because living room matchiness is a must. Turn the long edges over a 1/2 inch each and stitch. The resulting width is about 4.25" (the height of the can).

Step 3: Wrap the fabric around the can and mark where the ends should meet. It should be snug but not too tight that you won't be able to slide it on. Stitch the ends where you marked, right sides together. Trim the excess and press the seam open so it lays flatter on the can.

Step 4: Turn it right side out and pull it over the can, kinda like a beer coozie:

That's all it takes. Make one or one dozen. They contribute both color and functionality -- gotta love that.


----------------------------------------------------------------------------------

Project linked to:

Monday, October 24, 2011

diy: custom dry erase board

I was originally inspired by this jewelry display idea from Real Simple magazine:


So I bought an inexpensive picture frame from Garden Ridge, a sheet of styrofoam, fabric to cover the styrofoam, and gold pins to hang earrings and bracelets on the board. I even bought a giraffe statue to hang necklaces, instead of a bust, because it seemed eccentrically cute at the time. I ended up hating the whole project because my jewelry is too ugly to display and the giraffe looked tacky (surprise).

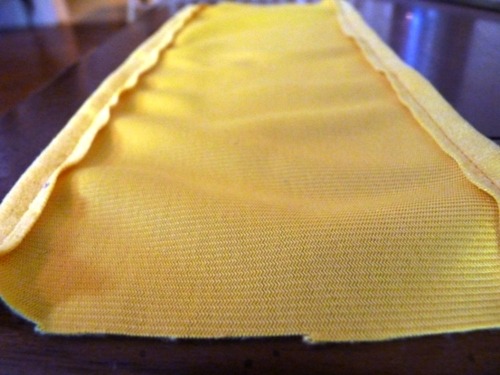
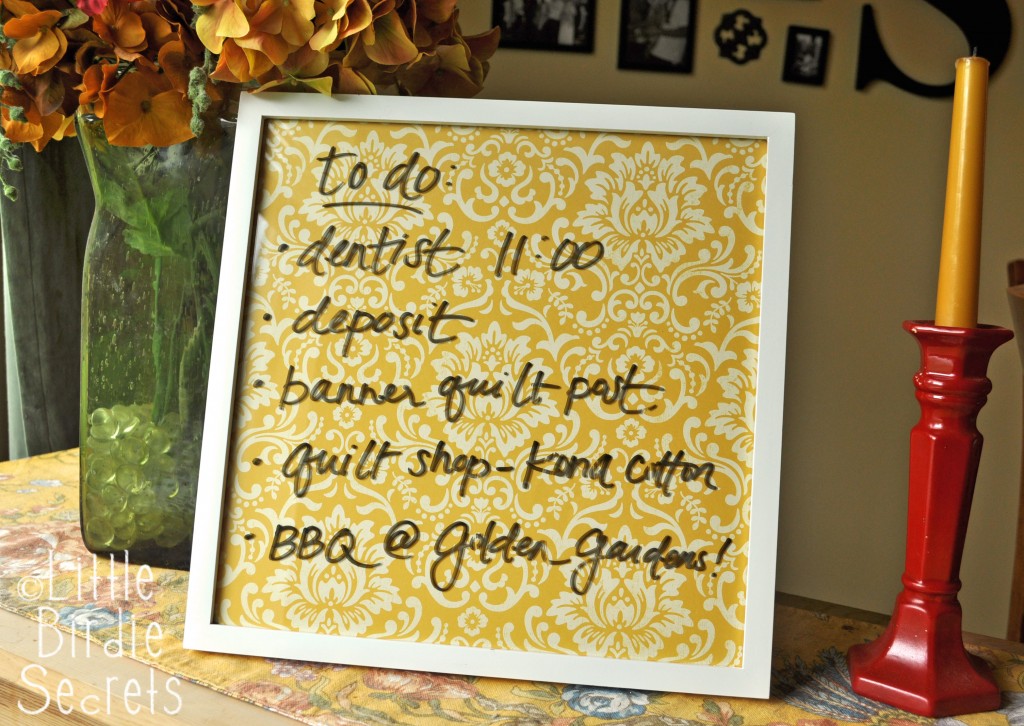
Instead, I decided to put the glass back in and frame a slightly patterned yellow dishtowel to create a dry erase board for my kitchen:


Works for grocery lists, to-do lists, "Happy Birthday Mom" messages, questionably funny drawings, and other pretending-to-be-practical-but-really-just-kinda-cute-decor things.


Why a dishtowel? It matched my kitchen decor already and was one of those waste-of-money towels that can't actually absorb any liquid. Upcyclin'.


Here are others that used regular fabric or decorative paper, some of which have tutorials:
Source: Real Simple
Source: Make and Takes
Source: Metal and Mud
Source: O. Alouette
Source: Papernstitch

Sunday, October 23, 2011

tutorial: how to make a round pintuck pillow

Want this pillow?:
 

If you stalk the apartment decor section of Urban Outfitters like I do, you may already recognize these round velvet pintuck pillows that come in an array of colors (currently 11 colors). They have a rating of 4.5 out of 5 stars over 73 reviews, probably because they are pretty fabulous. They're also $32-$34 each, which isn't outrageous but of course I like to think I can always do better.

So I made one.


Certainly it's not exact, especially the pintucking, but it still emulates the retro-throwback style. And it was half the price to make. So, wanna make your own? Get ready to smock!

Click below to see the full tutorial:

Monday, October 17, 2011

scallop tote bag sew along

Sweet simple scallops, so splendid and stylish. 


So, (sew), last week, Kate from See Kate Sew posted the pattern and tutorial for her self-designed "sweet scallops tote." She then invited her readers to participate in a sew-along and make one for ourselves. I've never been a part of a sew-along before, but it's a good opportunity to show and tell (sew and tell), and take a gander at what other people made right along with me. Plus I haven't made a bag in awhile, so I thought it'd be a nice change of pace from the skirts upon skirts upon skirts I keep making and not wearing. None of my close friends sew, nor do they really care to watch me sew or have me explain it to them, so I thought this could be a way to join a community of people who enjoy the craft like I do. 


Here's mine:
A'ight, I expected the bag to be pretty cute but THIS cute? C'mon!


I knew from the start that I wanted an "ombre" effect, and went with blues because blue is just so bleu-tiful.  Kate's original intention for this project was to use up some of her scrap fabric, but my scraps are limited, mismatching in a bad way, and mostly apparel knits. So I ventured to the fabric store for quilting cotton solids, and felt bad for hauling six bolts of slightly different shades of blue to the counter to be cut into quarter-yards. The employee said, "Feeling indecisive?" 


I did recycle some items for the tote bag base and lining. I sliced off the back of two beige linen Walmart pillows I never used, and cut the lining from a blue-striped sheet I bought at a thrift store this weekend. I have many more projects for these sheets, just you wait.


Kate's free printable pattern:


Times six. I think she used seven and layered hers more closely.

 Stitched,  turned right side out and pressed:


Fast forward a few steps of attaching lining and stitching sides, and here we are:


I didn't have enough of the beige linen to make the straps as long as the pattern instructed, but the bag itself is pretty small (12.5" x 14" before sewing) so I was okay with shorter straps. I attached some leftover blue to the back of the beige, stitched together, turned right-side-out and top-stitched:


 Attached them to the bag on the outside and top-stitched little squares. Done:


Thanks, Kate!
Click here to join the sew-along.