Thursday, November 10, 2011

my first sewn shirt, ever

I branched out and bought my first shirt pattern. Yea, and I call myself an "advanced" beginner? New Look 6963 is labeled easy so I thought it'd be a good (& inexpensive) way to learn how to make collars and buttonholes. Not the chicest of blouses, though, by the looks of the cover:


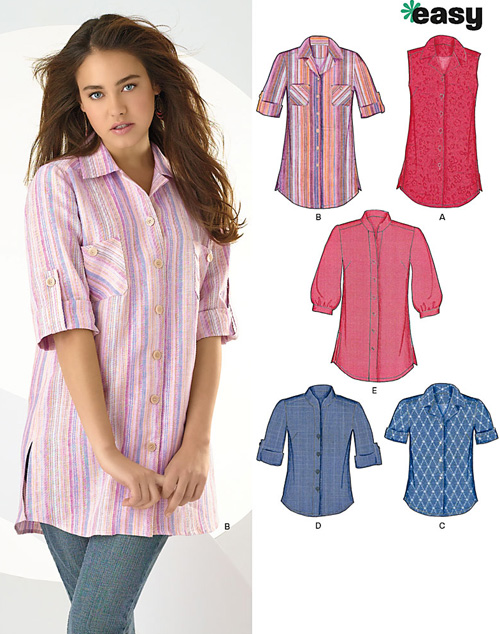
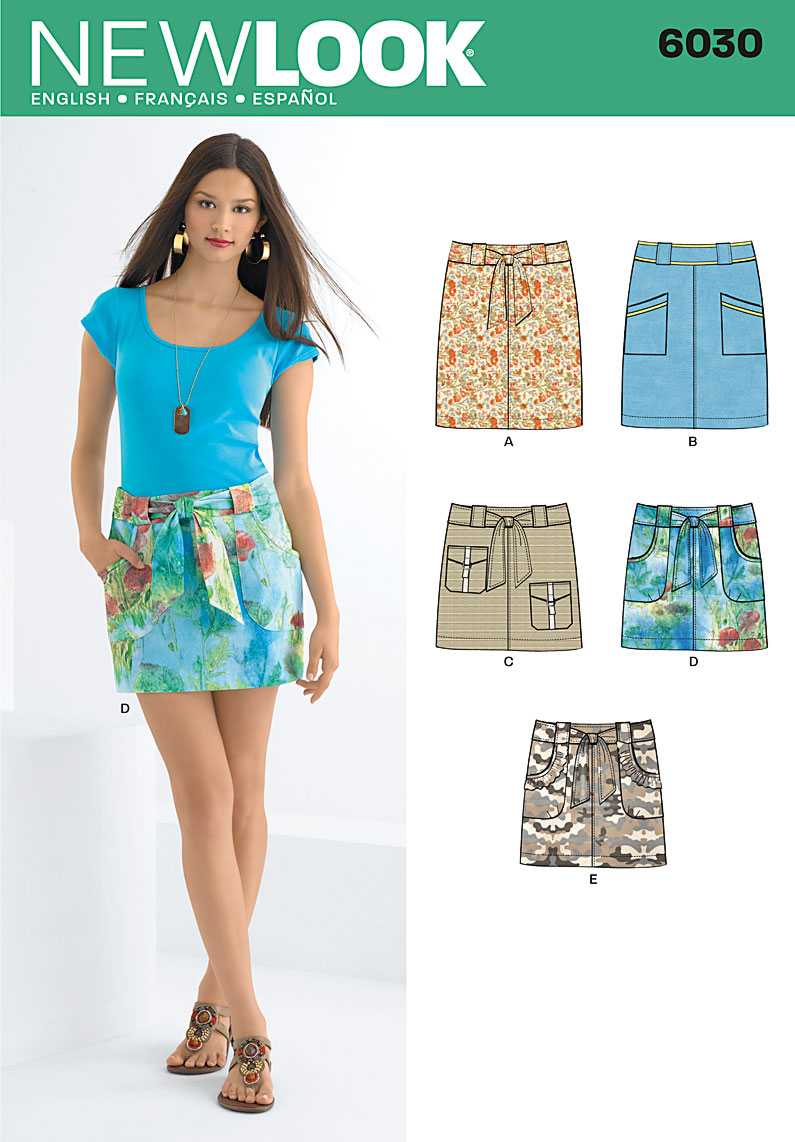
The wind in her hair is a nice touch, New Look. I wonder where sewing pattern models rank in the modeling hierarchy. I usually just feel bad for them because of the things they're often forced to wear.

Anyway, my shirt.


I made view C, with the shorter tab-less sleeves. The construction was pretty simple, but I did stumble on a couple things. The upper back facing is kind of a mess; the shape seems completely wrong and doesn't lay flat. I had to pleat it in a few places because there was so much excess fabric flopping around. I'm blaming the pattern.

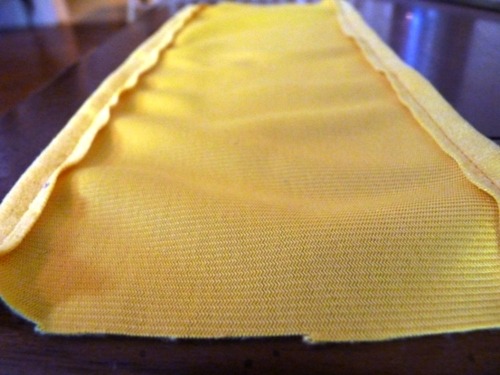
Fabric and collar close-up:


Also, I'm pretty sure I accidentally gathered the sleeves at the shoulders. It seemed like I was supposed to ease the sleeve in and still have it lay flat & ungathered? I couldn't see how this was possible due to how much fabric I had to ease in-- probably because I'm a sleeve novice -- but I liked the look so I just made it my way.

Side (wrinkled):

Back:

The shape's a bit too boxy from the front, so I think I will only wear it tucked in with a higher-waisted skirt. The back has a nice shape because of the long darts, but the front looks a little bit like a bowling shirt. Here is the back, untucked:


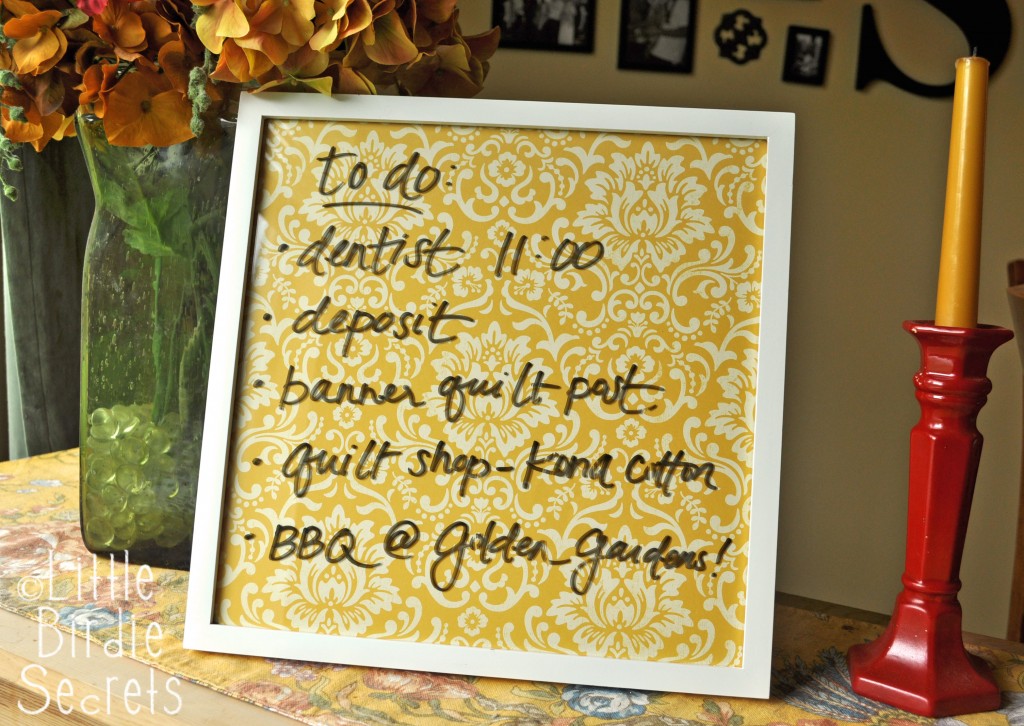
Oh, and my fabric of choice? Another bedsheet. Can't get enough of this idea. This was a Martha Stewart Living flat sheet in my parents' guest room linen closet that they haven't used in years. I like it as a shirt more, I think.


I guess I've found my calling - giving new life to crumbled linens.

Total price of project: $2.99 pattern + $0 sheet + $1.25 buttons + scrap interfacing

Saturday, November 5, 2011

warning: baby stuff ahead

I normally skim over (or avoid altogether) any crafts/DIY/products on the blogosphere related to babies or small children. I've only been to three or four baby showers in my life, two of which were for my baby niece (photo here). She's the only babe in my life at the moment, though, and I haven't ventured into these kind of projects for her yet. So I was sorta out of my element when I decided to make something by hand for my colleague's baby shower next week. Definitely the first time "baby shower DIY" has graced my Google search history. But hey, it wasn't too bad.

Swaddling wrap/tie blanket and matching burp cloths

My co-worker and her husband have chosen not to learn the gender of the baby before he/she is born. I'm all for this idea, because I'm not a fan of most of the gender-specific items sold in stores. Some of it can be pretty awful. Anyway, for my projects I chose flannel with a blue palette, but only because I like blue, not because I hope the baby is a boy. At least it's birds and trees, not cars and trucks or something.


I have plenty more photos of these items after the jump:


just in time for daylight savings: watch makeovers

Saw this scarf watch idea on Scissors and Thread today (original post on A Pair & a Spare). I've seen this concept before, but I liked being reminded.


I've known for awhile that I need a new watch; my white rubbery Target one has had several months of 24/7 wear, so it looks godawful. Why would I think buying a white watch was a good idea? By now it looks like I wrap an old sock around my wrist everyday.


I couldn't easily remove the pins that hold the strap to the metal face, so I just took some scissors to it until the straps came off.


It's as easy as slipping through a scarf or ribbon or one of those belts that come with your Forever 21 dresses, and then wrapping and tying it around your wrist as you like.


I bought some single fold bias tape the other day with the intention of using it as finishing on a baby swaddling blanket I'm making for a co-worker. I didn't end up using it for that project, so I thought I'd try it here. Kinda cool-looking, actually.


This is the whole package (4 yds) wrapped around. Pretty dramatic but I think I like it. 


Don't forget to "fall back" your scarf/bias tape watches tomorrow night.

------------------------------------------------------------------------------------------------------------
Project linked to
and


Friday, November 4, 2011

simple sewing: fabric-covered pencil cups

Here's an easy breezy sewing project: turn your lunch into pencil cups.


I've never done anything with tin cans besides toss them in my recycling bin, but I can now say they're pretty much a craftswoman's dream since they're so accessible and versatile. They have such a practical shape and size, and are still cool-looking just on their own without their labels.

I can't cook, so I eat a lot of canned soup. It's about time that I used all those cans to enhance my life in other ways. Why not pencil cups? I probably spend as much time per week looking for a frickin' pen in this apartment as I do eating soup, so I need them to be more accessible.

OK. Step 1: Remove the label, which comes off easily under hot water. At least for Amy's soups it does.


Step 2: Cut a 5.25" x 10" rectangle of fabric. I used leftover fabric from some other home projects, because living room matchiness is a must. Turn the long edges over a 1/2 inch each and stitch. The resulting width is about 4.25" (the height of the can).

Step 3: Wrap the fabric around the can and mark where the ends should meet. It should be snug but not too tight that you won't be able to slide it on. Stitch the ends where you marked, right sides together. Trim the excess and press the seam open so it lays flatter on the can.

Step 4: Turn it right side out and pull it over the can, kinda like a beer coozie:

That's all it takes. Make one or one dozen. They contribute both color and functionality -- gotta love that.


----------------------------------------------------------------------------------

Project linked to:

Wednesday, November 2, 2011

prep skirt: from a sheet

I bought a blue and white striped sheet set from a thrift store for $6. I've never made clothes from a sheet before, but it's ridiculously economical. So much yardage! Makes so many things! Freedom to completely mess up and cut anew, guilt-free! 


I already used some of it to create a lining for my scallop tote bag. I decided to make a skirt next because I hadn't sewn a skirt in, what, three whole weeks? My nearest Wal-Mart surprised me with its revived sewing/fabric section so I snagged a few New Look patterns there for under $3 each. 


This one is New Look 6030, view B for the most part. View B doesn't call for the belt/sash but I made one anyway; no belt loop deserves to remain empty.


I'm calling this the prep skirt because it looks like something one would wear while sipping lemonade on their rich uncle's sailboat. I ain't mad. I like the skirt length and pocket detail. The belt loops and sash are what attracted me to the skirt initially, but I'm not crazy about where the belt loops are placed -- they're far apart on the sides, so the belt inevitably creeps up between them. I thought about attaching the belt to the waistband permanently so it won't roll, but then the skirt would be difficult to take off and on since the zipper's in the back and the sash closure's in the front. Maybe I'll just use a real belt in the future.


The pattern calls for a regular zipper but I used an invisible one, recycled from a never-worn skirt in my closet. It's tan instead of white but the belt covers the tab so it doesn't matter. I also didn't use a hook and eye because there wasn't much of a gap above the zipper.


The "View B" skirt has ribbon on the pockets and around the waistband. I just used self-fabric on the pockets and nothing extra on the waistband. I used interfacing on one side of the waistband but left it off its facing.


I also changed how the belt loops were attached -- I sewed them into the seam between the waistband and its facing, though the pattern says to fold under the raw edge and topstitch it to the waistband. No thanks. I guess my method makes the belt loops shorter, so I had to make my belt skinnier. 


So, I still have no idea what size to make for myself in commercial patterns. With my real waist and hip measurements, I should be a size 16, the largest in the envelope. Seemed a bit extreme, so I made the size 14 and I still had to take it in quite a bit. Am I doing something wrong?

---------------------------------------------------------------------------------------------------
Linked to:

Pattern Review - see my review
and
and

Saturday, October 29, 2011

circle infinity scarf

Who doesn't like a nice warm circle scarf for fall? Here's one I made from colorful knit fabric:


My infinity scarf is considerably less infinite than many others out there, partly because I don't like drowning in a vast sea of fabric but mostly because I ran out of yardage. 


I bought this knit because I liked the colors and it had a more interesting design than any knit I'd ever seen at Joann's. The girl cutting the fabric said, "Yeah it's kinda cool but I wouldn't wanna look at it all the time." Then she proceeded to tell me about the purple tulle she was making a skirt out of. To each her own.

I originally tried to make a simple short-sleeved dress out of it, but accidentally chopped the hem way too short and couldn't bear to wear it as a bulky pocketed short-sleeve shirt. The knit is heavy and sweatshirty -- not good for a dress anyway -- but is too cozy to waste. So I dutifully seam-ripped it apart, and salvaged enough yardage (in increments) to create what would become a circle scarf.
                           

I stitched together each small section to create a long single layer of fabric. It ended up measuring over 9 feet long, yikes:


I've seen some tutorials that just stitched together the two short edges here and called it a day (see Come On, Ilene!), but I didn't want the wrong side to be exposed at all when I wore it. My crappy scissors hack at my fabric, so even on a knit the raw edges look bad. So I folded the scarf in half lengthwise (right sides together) and stitched the long edge, leaving the short ends open so I could turn it right side out. It's essentially a (really) long tube.


I then brought the two ends together to form a large circle. I wanted a clean seam to close the loop, so I stitched the two ends, right sides together, as much as it would allow me (you can't go all the way around as it is). This formed a little gap that I had to hand-stitch closed.


So once I sewed, it looked like this on one side:

And this on the other: 

I whipstitched the opening closed, making sure the raw edges were folded under. There's probably a better hand stitch out there that would be less noticeable, but since this is a scarf that is bundled up anyway, I didn't worry about small imperfections.

The end!


It's skinnier than I'd probably like, but since it's so long I can wrap it around my neck about four times to create enough volume.


Easy and affordable, the best kind of project.

---------------------------------------------------------------------------------------------------------
Project linked to: 
and

Monday, October 24, 2011

diy: custom dry erase board

I was originally inspired by this jewelry display idea from Real Simple magazine:


So I bought an inexpensive picture frame from Garden Ridge, a sheet of styrofoam, fabric to cover the styrofoam, and gold pins to hang earrings and bracelets on the board. I even bought a giraffe statue to hang necklaces, instead of a bust, because it seemed eccentrically cute at the time. I ended up hating the whole project because my jewelry is too ugly to display and the giraffe looked tacky (surprise).

Instead, I decided to put the glass back in and frame a slightly patterned yellow dishtowel to create a dry erase board for my kitchen:


Works for grocery lists, to-do lists, "Happy Birthday Mom" messages, questionably funny drawings, and other pretending-to-be-practical-but-really-just-kinda-cute-decor things.


Why a dishtowel? It matched my kitchen decor already and was one of those waste-of-money towels that can't actually absorb any liquid. Upcyclin'.


Here are others that used regular fabric or decorative paper, some of which have tutorials:
Source: Real Simple
Source: Make and Takes
Source: Metal and Mud
Source: O. Alouette
Source: Papernstitch